Creation of a Route53 Service in a private VPC
Creation of a Route53 Service in a private VPCEnable your VPC to work with Route53. Skip this step if you already use Route53.
The AWS Command Line Interface (CLI) allows to list all VPCs with the following command:
aws ec2 describe-vpcs
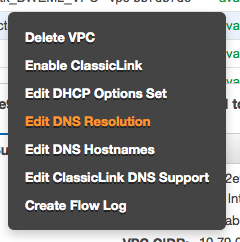 . . |
The following commands will make the instances in your VPC use the domain name entries from Route53. This is most likely required since some of the consumers may be part of the VPC. Use the AWS console. Move to the VPC screen. Make a right mouse click above the VPC which you plan to enable. Select "Edit DNS Resolution" |
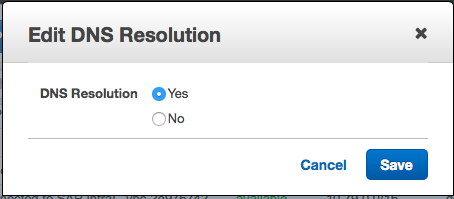 |
It will then show a modal dialog in which you will have to click on "Yes" and "Save" |
The AWS Command Line Interface (CLI) allows to perform this operation though the following command:
aws ec2 modify-vpc-attribute --vpc-id <value> --enable-dns-support
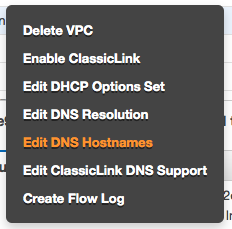 |
The next step happens as well through the AWS VPC console. Hover the mouse above your VPC. Make a mouse right click. Select "" |
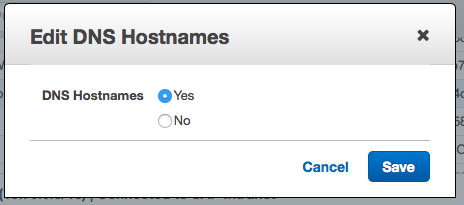 |
It will show a modal dialog. Select "Yes" and Save your data entry. |
The AWS CLI allows to perform this operation though the following command:
aws ec2 modify-vpc-attribute --vpc-id <value> --enable-dns-hostnames
Important: Note down the name of your VPC or tag it. The name will be needed later on.
Creation of the Route53 Hosted Zone (The Domain Name Server)
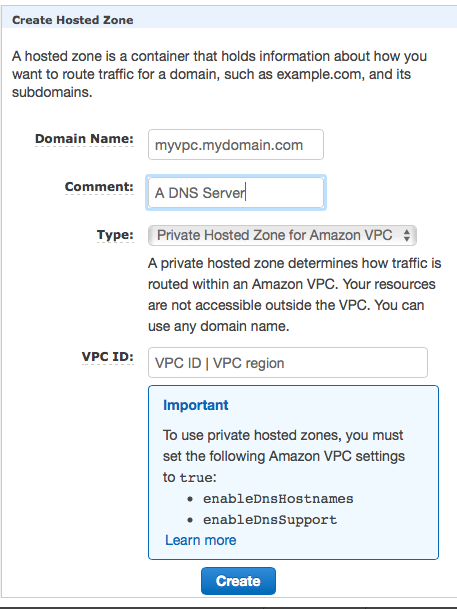
Use the AWS console. Move to the Route53 screen. Click on the Create Hosted Zone button. You will see a dialog like the following one:
|
|
We assume that you will want to use this domain name server for intranet case only. Fill the fields with the following values:
Save everything through using the Create button. |
- 2727 views
